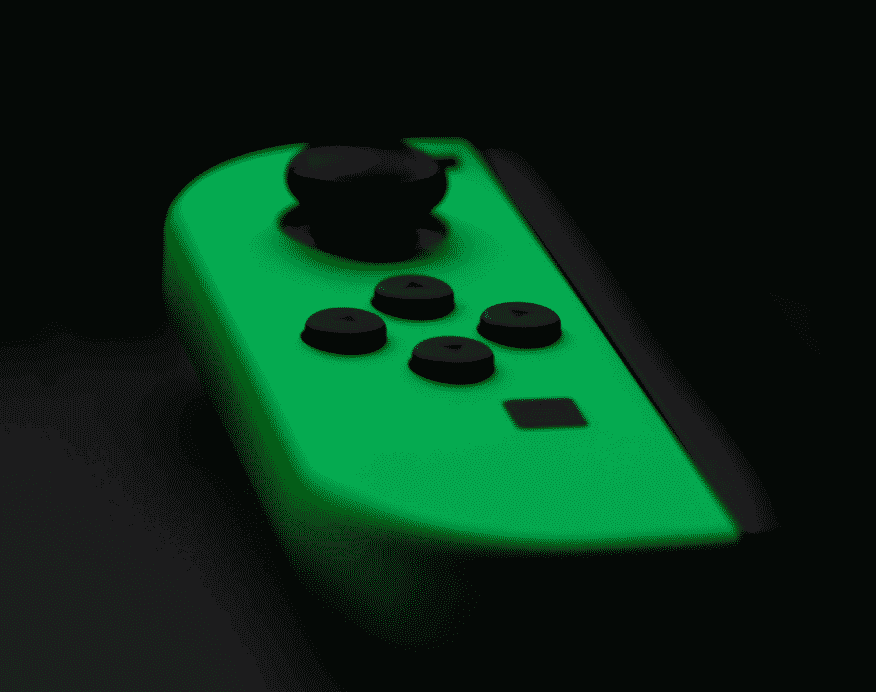
The Nintendo Switch is an incredibly popular device for kids and adults. With many states still under shutdown orders, more people than ever have been playing Nintendo Switch. The Nintendo Switch is designed specifically for handheld play, so you can play your favorite games on-the-go. They have built-in controllers, many compatible games, and they are incredibly lightweight and sleek. Fans of the Nintendo Switch love all of the multiplayer gaming options. They can play online with other people with a Nintendo Switch online membership.
There are a few common issues that can happen when playing your device. During these challenging times, it can be incredibly frustrating to need to repair your Nintendo Switch. While we always recommend seeking help from a professional Nintendo Switch repair shop, some people attempt to fix their Nintendo Switches at home. We will provide some tips for Nintendo Switch repairs below.
Understanding the Components of the Main Tablet
The main tablet of the Nintendo Switch is not that hard to open. You only need to remove a few screws; then, you will remove the system’s rear panel and expose the inside. You will notice the 4,310-mAh battery first, as it is extremely large compared to the overall size. The battery is extremely large, enabling the Nintendo Switch to last for three hours at a time.
There is also a dedicated component that holds the Switch’s game card reader and headphone jack, as well as the main chipset. You will also find the Nvidia Tegra processor along with the RAM. The Switch also contains the background items that operate the Joy-Con controllers, which include 525-mAh batteries.
Repairing Your Switch Yourself Will Void Your Warranty
Keep in mind that if you repair your Nintendo Switch iby yourself, you will void Nintendo’s warranty. Nintendo currently offers a warranty of “manufacturing or workmanship defects” for the first year after someone purchases a Switch. The warranty does not cover physical damage, such as water damage or a cracked screen from dropping your Nintendo Switch, but it does cover problems that were wrong with the device when it was manufactured.
Specifically, the warranty covers “manufacturing or workmanship defects” for 12 months after you purchase the device. Essentially, if the problem happened due to a manufacturing or product error, Nintendo will cover the damage. If not, you will need to fix your Nintendo Switch yourself or hire someone else to do it.
Replacing the Fan on Your Nintendo Switch
The fan is an extremely vital component of your Nintendo Switch device. When the fan stops working or works too slowly, your Switch can overheat, which is dangerous for your device. If you need to replace the fan on your Nintendo Switch, you will need to pop it open. When you are reinstalling the device, you will need to hook the right anchor point firmly into the rubber grommet before you place the fan in the location. You will also need to buy a replacement Nintendo Switch fan. You will need the following tools:
- ESD Safe Tweezers with a Blunt Nose
- JIS #0 Screwdriver
- Tri-point YOO Screwdriver
- JIS #000 Screwdriver
- Spudger
First, you will need to remove the four screws on the Nintendo Switch’s rear panel. Then, remove the single screw from beneath the Switch’s kickstand. You will need to remove two screws from the bottom of the device and one on the top of the device. Once you get inside the Switch, you will need to remove the screw holding in the micro SD cardboard. You will need to lift the SD card straight up and remove it generally. Then you will need to remove the screws holding in the shield plate, disconnect the battery, remove the heatsink, and finally, you will be able to access the fan and replace it. Be sure to remove the fan carefully, so you do not damage the device.
Fixing the Power and Volume Button Replacement
You will need a tri-point Y00 screwdriver, JIS #000 screwdriver, spudger, and ESD safe tweezers with a blunt nose tip. You can replace the rubber conductive button pad as well as the exterior volume and power buttons. Be sure to attach the outside plastic buttons to the conductive rubber pad and to insert them both together into the Nintendo Switch.
After you remove the screws necessary to open up the Nintendo Switch and pull the rear panel off of the device, you will also need to remove the shield plate. You will also need to disconnect the battery and remove the heatsink. After you remove the fan, you will finally have access to the power and volume button board. You can use a spudger to flip the small black locking fap up. Then you can pry up the tapped down volume/power ribbon cable. You can then remove the volume/power board with a pair of tweezers and pull the conductive rubber pad out.
Repairing the Shell of Your Nintendo Switch
If the shell of your Nintendo Switch is showing discoloration or cracks, you may want to replace it. The shell is extremely important because it protects the inner components of the device while providing the Switch with aesthetic appeal. You will need to purchase a replacement shell for your device. Then you will need to remove the shell by unscrewing many different screws. Eventually, you will be able to open the Joy-Con like you would open a laptop. You can gently pry up the battery connector from its socket. Overall, the process is incredibly complicated; it takes 20 steps to complete. We recommend seeking help from a professional repair shop.
Is Your Nintendo Switch Broken? UR Gadget Doctor Can Fix it
If your Nintendo Switch is broken, we can help you fix it. We have repaired thousands of Nintendo Devices quickly. Contact our New Jersey repair location today to get your free tablet repair diagnostic test and a free quote.

 Skip to content


